
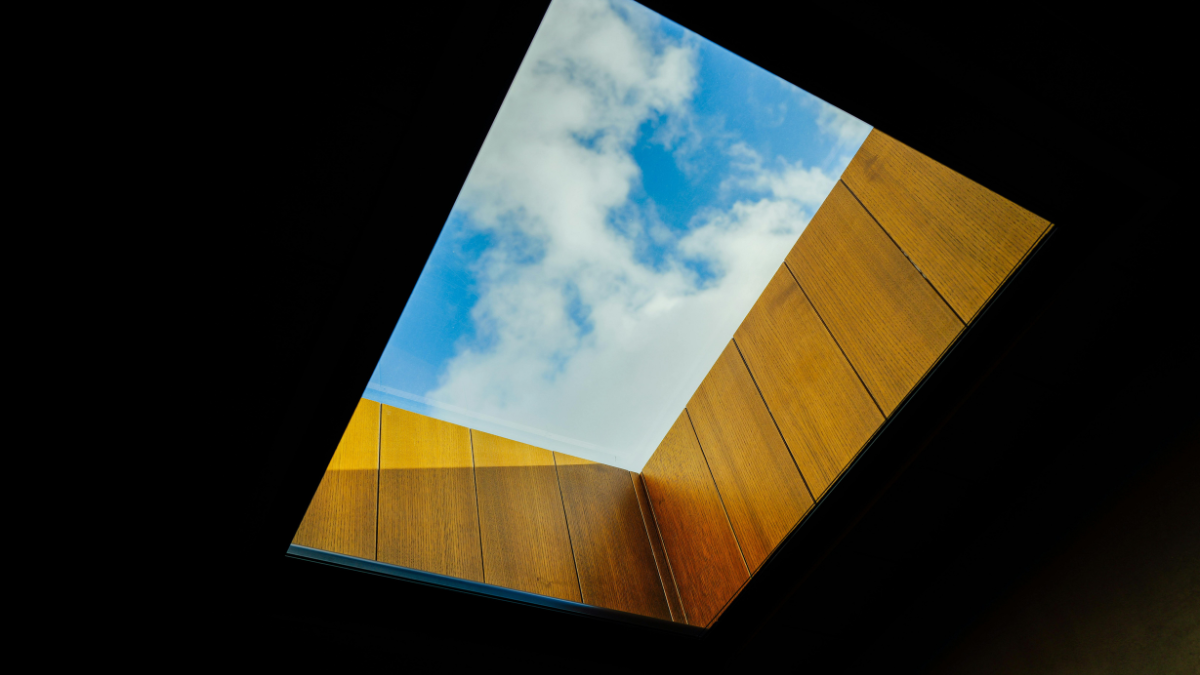
A skylight cut in the wrong spot costs about the same to fix as the whole original job. That’s the part nobody puts in the brochure. You picked the frame finish, you compared glass tints for a week, and then someone climbed into the attic and punched a hole in the roof in the one place that turns your living room into a greenhouse by 2 p.m.
Here’s my stance, and I’ll defend it: the hole matters more than the glass. Placement, framing, and flashing decide whether you get soft daylight for twenty years or a slow ceiling stain you blame on the rain. Product matters, but it’s the second decision. So let’s talk about the first one, because most homeowners never get to make it.
Why Placement Is the Whole Ballgame
Roofers talk about “the cut” like it’s a formality. It isn’t. A skylight is a hole in the one surface that keeps weather out of your house, so every inch of where you put it changes how water, heat, and light behave for the life of the roof.
Think about four things at once. Where does the sun travel across your roof between morning and evening? What’s underneath, a hallway, a stairwell, a bathroom, or the back of a closet where you’d never see the light? What’s above it, a ridge, a valley, a dormer, or a chimney that dumps water and debris right past the glass? And how does your attic breathe after you block part of a rafter bay?
Get those four right and almost any decent unit performs. Get them wrong and the best unit on the market leaks anyway. I’ve watched people spend three times more on the fixture and still end up with a puddle, because the puddle was never about the fixture.
What Does the Roof Itself Have to Say?
Your roof has opinions, and they don’t bend to your Pinterest board. Orientation, pitch, and existing penetrations set hard limits on where a skylight can go without creating a problem you’ll chase for years.
South-facing roof planes take the most direct sun, which means more heat gain in summer and more brightness in winter. North planes give you the steadiest, coolest light. East gives you morning sun and glare with your coffee. West is the hot one, and in warm climates it’s the plane I’d avoid unless you truly need the light there.
Pitch matters too, in a way most people miss. A low-slope roof drains slowly, so a skylight on it needs a raised curb and flashing built to shed water deliberately, not hopefully. Steep roofs shed fast but are harder to work on, which is a labor question, not a design one, but it shows up in the bid all the same. And if there’s already a plumbing vent, a furnace flue, or a satellite mount in that plane, you’re stacking penetrations close together, which is exactly where leaks start.
One line I’d underline: never let anyone cut the structure without checking whether that rafter bay was carrying a load where you want the glass. Framing around a skylight means adding a header and trimming the opening square, and that’s real carpentry, not a hole saw.
The Three Real Failure Points
Skylights fail in predictable places. Knowing them tells you what to watch during the install and what to inspect afterward.
Flashing. This is the metal and membrane that ties the skylight into your roof covering. It’s the single most common cause of leaks, and it’s the part homeowners never ask about because it’s invisible once the shingles go back down. A curb-mounted unit with step flashing woven into the courses behaves very differently than a deck-mounted unit sealed with caulk and hope.
Condensation. Warm moist air from your house hits cold glass and turns into water. That’s not a leak, but it looks like one, and it stains drywall just the same. Insulating the shaft, sealing the interior trim, and choosing the right glazing assembly all reduce it.
The interior shaft. The tunnel from the glass down to your ceiling has to be square, insulated, and finished, or you lose the light before it ever reaches the room. A sloppy shaft is why some skylights feel dim even in full sun. If you want the technical background on how heat moves through building assemblies, the Department of Energy publishes plain-language guidance that’s worth an hour of your time before you sign anything.
The Light Budget: A Framework I Actually Use
Here’s a way to size a skylight without guessing, and it’s the method I’d hand any homeowner who’s stuck between two options. I call it the light budget, and it works in three moves.
First, measure the room and write down its square footage. Second, decide how much of that floor you want daylight to actually reach, generally somewhere between five and fifteen percent, depending on how bright the room already is. Third, divide by the light your chosen unit delivers, and remember that a tubular skylight concentrates light through a small dome while a traditional one spreads it across a larger opening. That gives you a target, and a target beats a showroom.
Run it once and you’ll notice something useful.
A small tubular unit in a hallway often beats a big traditional skylight in the same spot, because the hall only needs a fraction of that light and the smaller roof penetration is easier to seal. Cost and risk both drop. That’s the trade I’d take nine times out of ten, and I’ll say so plainly even though bigger units carry bigger price tags.
Choosing an Installer Without Getting Burned
This is where the job is won or lost, and it’s the part you control. Anyone can quote you a number. Fewer can explain their flashing detail, and fewer still will let you stand in the attic while they frame the opening. Ask for that, and watch who says yes.
Licensing and insurance aren’t optional in a trade that puts people on your roof and cuts into your structure. According to the Bureau of Labor Statistics, roofing work carries one of the highest injury rates of any construction trade, which tells you why legitimate crews carry proper coverage and why hiring the cheapest bid is its own kind of gamble. A contractor without workers’ compensation is a liability that lands on your homeowner’s policy, not theirs.
When you’re comparing bids, the spec sheet matters more than the sticker. Reputable providers of quality skylight installation services will walk you through the flashing system, the curb height, the glazing spec, and the warranty terms before you ask. If a bid lists a brand and a price and nothing else, that’s a sign the details were never part of the plan.
A Five-Step Pre-Cut Checklist
Print this. Take it to every estimate, and make the person quoting you walk through it out loud.
- Map the sun. Note where the light lands at 9 a.m., noon, and 4 p.m. in the room you’re trying to brighten. Watch it on a clear day, not from memory.
- Inspect the attic bay. Look for wiring, ducts, vents, and load-bearing framing inside the opening you’re considering. Move the skylight before you move the plumbing.
- Confirm the flashing plan. Ask what kind of flashing goes with your specific roof covering, shingle, tile, metal, or single-ply, and get it written into the bid.
- Check the shaft design. Insulated, sealed, and painted white or a light tone, because a dark shaft eats the light you paid for.
- Verify the paperwork. License, insurance, and a written warranty that covers labor and leaks, not just the glass.
Federal housing guidance through HUD is a decent backstop if you want to understand what disclosures and standards apply to home improvement work in your area. It won’t evaluate your contractor, but it will tell you what a proper paper trail looks like.
The Decision That Outlasts the Receipt
Your skylight will sit above your head longer than most of the furniture in the room. The glass will still be the glass in fifteen years. The cut, the framing, and the flashing are what you’ll live with, and they’re the parts you can get right before anyone climbs a ladder.
So decide placement first. Then fight about tint, frame color, and remote-controlled shades, because those are the fun choices and they matter less. If you’re staring at a dark room and a roofline you don’t fully understand, the smartest move is to get someone on the roof who’ll explain their reasoning in plain language. Which plane would you pick, and why?