
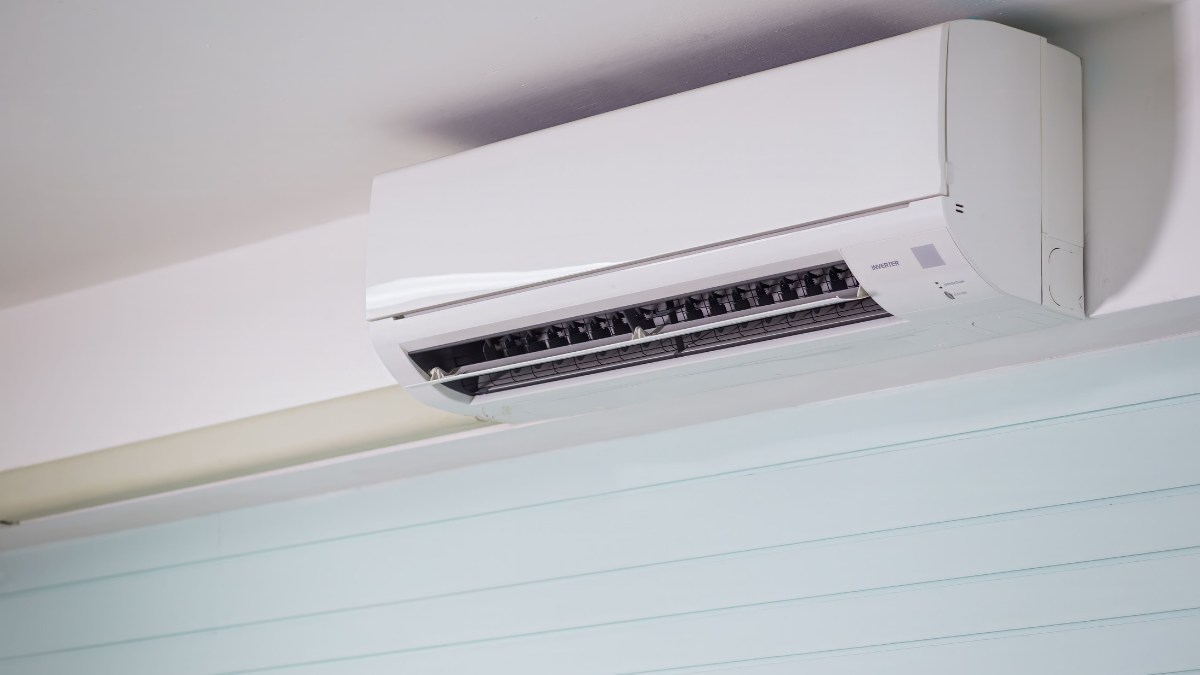
I once watched a homeowner pay about 1,800 dollars to rip out a three year old air conditioner. Nothing was broken. The unit was simply too big for the house, and no one caught it before the install day. The compressor cycled on and off like a porch light on a windy night, the bedrooms never lost their humidity, and the electric bill climbed every summer. Sizing is the part of your install that decides whether the next fifteen years feel effortless or annoying.
Here’s the promise, and it’s a simple one. By the end of this piece you’ll know why bigger isn’t better, how a real load calculation works, and the exact questions to ask before anyone rolls a truck into your driveway. You’ll also know why the wrong crew costs you more than the right one.
Quick math first, because it reframes everything. Contractors are taught a rough rule of thumb: one ton of cooling capacity for every 400 to 600 square feet. That’s where “get a three ton unit, you’ve got about 2,000 square feet” comes from. The rule ignores your windows, your insulation, your attic, and the direction your house faces. A whole house worth of readings, run through software, tells the real story. If you want that done properly by someone who’s been crawling through Arkansas attics for decades, that’s how you find an hvac installation contractor worth trusting with the job.
The rule of thumb also ignores the summer air you’re living in. A system that’s slightly oversized runs for shorter bursts, which means it never runs long enough to pull moisture out of the air. You get cold clammy rooms instead of dry comfortable ones. That’s the humidity problem most homeowners blame on “the AC being weird,” when it’s really a sizing problem from day one.
What Oversizing Actually Costs You
Let me give you the honest accounting, because this is where I stop being polite about it. An oversized system shortens its own life, raises your monthly bill, and makes the house less comfortable at the same time. That’s three losses on one purchase. I’d take a correctly sized unit with a lower SEER rating over an oversized premium system any day. Long run times are the friend of comfort.
Here’s the quiet cost. Every time the compressor kicks on, it draws a spike of current far above what it uses while running. Short cycling means dozens of extra startups a day. Over a season, that adds up in wear on the compressor and the blower, the two parts that cost the most to replace. A properly matched system runs longer, starts less, and settles into an easy rhythm. The U.S. Department of Energy keeps solid guidance on equipment selection and efficiency ratings through its Energy Saver resources, and their message is consistent: match the equipment to the load, not to the sticker.
Now the other direction. Undersize the unit and it never catches up on the hottest afternoons. It runs nonstop, which is its own kind of damage, just a slower one. So the target isn’t “as much capacity as you can afford.” It’s the number the calculation spits out.
How a Real Load Calculation Works
You may have heard the term Manual J. That’s the industry standard method for figuring out how much heating and cooling a specific house actually needs. It’s not a guess and it’s not a quote based on square footage. It’s a set of measurements and inputs run through software. The standards behind it come from the building science world; you’ll see them referenced by the American Society of Heating, Refrigerating and Air-Conditioning Engineers, which is the body the trade leans on for these methods.
A real calculation accounts for:
- Square footage and ceiling height of each room, not the whole house averaged
- Window count, size, and which direction they face
- Insulation levels in the walls and attic, plus any air sealing already done
- Number of occupants and heat given off by appliances
- Local climate data for your specific city, not a regional average
Four to six of those inputs can swing the answer by a full ton in either direction. That’s why two contractors can quote two different systems for the same house and both sound confident. Only one ran the numbers.
There’s a matching step too, and people miss it. Once the load is known, the ductwork has to be able to move that much air. A perfectly sized unit choked by undersized ducts performs like an undersized unit. Ask whether ducts get measured or just eyeballed. You want measured.
Questions to Ask Before Anyone Quotes a System
Here’s the practical part, and I’d genuinely use this list myself.
- Will you run a Manual J calculation? If the answer is no, or “we go by square footage,” thank them and move on.
- Can I see the output? You don’t need to understand every line. You want to see that it exists and that it used your address.
- What tonnage came out of the calculation? Write the number down. Then check whether the quoted equipment matches it.
- Have you checked the ducts and the return air path? This is where hidden capacity losses live.
- What’s the air sealing and insulation situation? Sometimes a small duct fix beats a bigger unit, and a good contractor will say so.
That last one matters more than people expect. Sealing leaks and topping up attic insulation reduces the load, which can mean a smaller, cheaper system does the same job. The National Institute of Standards and Technology does building performance research in this space, and the underlying physics is boringly reliable: less heat coming in means less equipment needed to push it back out. Some homeowners hear “smaller unit” as a downgrade. It’s the opposite. It’s the right box for the job, and it pays you back monthly.
The Install Crew Matters as Much as the Spec Sheet
Here’s my stance after watching a lot of installs. The equipment brand is the least interesting variable in the whole project. A name brand system installed with sloppy connections, wrong charge, and a bypassed filter will underperform a mid-tier system installed carefully. The craftsmanship is the product.
Concretely, I’d ask to see three things on install day:
- The line set and connections before the panels go back on, so you can see clean work and no kinks
- A reading of the refrigerant charge once the system has run and stabilized
- A walkthrough of the thermostat settings and the filter size you’ll need going forward
None of that is exotic. All of it gets skipped when a crew is rushing to the next job. You’re not being difficult by asking. You’re protecting a purchase that’s supposed to last well over a decade.
There’s one more realistic scenario worth naming. Say your system is twelve years old, the summer bills are climbing, and a room over the garage never gets cool. The instinct is to replace the unit with a bigger one. The better first move is a load calculation plus a duct evaluation. Sometimes the answer is a smaller unit plus a ducted fix, and sometimes it’s a ductless system for that one room. A contractor who only ever sells full replacements isn’t doing you a favor.
What Good Sizing Sets You Up For
Get this part right, and the rest gets easier. Your system runs longer, gentler cycles, which pull humidity down and keep every room closer to the same temperature. Your equipment wears more slowly, so it lasts closer to its rated life instead of limping toward year ten. Your energy use tracks the actual load instead of fighting it. None of it depends on secret technology or a premium brand. It depends on someone measuring your house before they sell you a box. That’s the whole thing, and it’s why I’d always pick patient measurement over fast enthusiasm.
So here’s your next step. Before you sign anything, ask for the Manual J output. Not a summary, the output. If a contractor can produce it, walk the ducts, and explain the tonnage in plain language, you’ve found someone worth keeping on speed dial for the next fifteen years.