
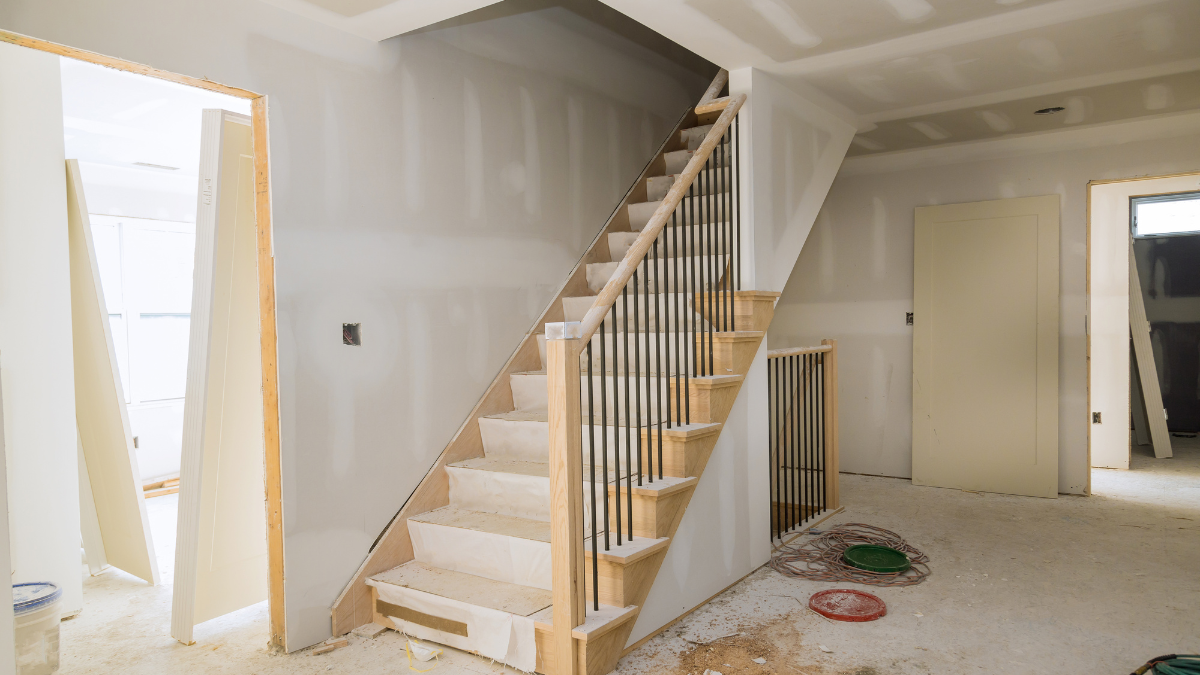
Thirteen brackets. That is how many holes my neighbor patched in her stairwell wall after her first contractor guessed at spacing and got it wrong twice.
She had picked the perfect white oak treads, the exact stain she wanted, a gorgeous iron baluster pattern she found on a Tuesday night rabbit hole. What she had not thought about was the hardware holding the handrail to the wall, and that oversight cost her two extra weeks and a repaint of the entire stairwell. So here is the deal: your staircase renovation lives or dies on the boring parts. You’re going to get a plain language walkthrough of railing materials, staircase design choices, and the small mounting details that decide whether your stairs feel solid and finished or slightly off every single time you walk them.
By the end you’ll know how to size and space brackets correctly, which materials hold up in real houses, and the three plane check I use before anyone drills a single hole.
Why Railing Hardware Decides How Your Stairs Feel
A handrail is a lever. Push down on the middle of an unsupported span and you can feel every bit of flex travel back into the wall. Grab a handrail mounted on properly sized brackets and it feels like part of the house. Same wood, same finish, completely different experience.
That difference matters more than people realize. According to the Occupational Safety and Health Administration, stairways are consistently among the most common locations for workplace fall injuries, which is exactly why stair design codes exist in the first place. Your home isn’t a job site, but the same physics applies to a tired parent carrying a toddler down at 6 a.m.
Here’s my honest take after walking through a lot of half finished renovations: homeowners budget for what they can see and forget what they can feel. Railing hardware is a feel item. Nobody photographs it. Everybody notices it.
Bracket spacing rule of thumb: keep support points close enough that the rail cannot deflect under a firm downward push. When in doubt, add another bracket. Extra hardware is cheap compared to reopening a finished wall.
What Changes When You Mount a Rail to the Wall
Wall-mounted rails solve a specific problem. In narrow stairwells, a post at the bottom eats precious walking width and creates a spot to stub your toe. Bending the rail into the wall opens the run back up and reads cleaner in smaller homes.
It also raises the difficulty. You’re now depending on the wall assembly to carry load, and not every wall is built to do that without help. My rule is simple: figure out what’s behind the drywall before you order anything. A stud, a blocking plate, and hollow drywall are three different jobs.
This is where wall-mounted handrail brackets earn their place. Cast or machined brackets with a proper base flange spread the load across the wall surface instead of concentrating it on two screw heads. Cheap stamped brackets do the opposite, and you’ll feel it the first time someone leans going down.
One more thing people miss: the bracket has to match the rail profile. A round rail and a flat backed bracket will never sit flush, and that tiny gap is where wobble starts.
Residential Railing Materials, Ranked by Where They Belong
Material choice is really a question about the room, not the trend board. Here’s how I’d sort the common options for a house.
- Painted wood: best value, easiest to touch up, and it disappears into a traditional stairwell. It dents, though, and kids find those dents.
- Stained white oak: the current favorite for a reason. Hard enough to survive daily use and warm against almost any wall color.
- Powder coated steel: great for modern runs and basement stairs. Cold to the touch in winter, which some people love and some hate.
- Stainless and bronze: beautiful in coastal homes and glass railing setups. Higher cost, and fingerprints are a genuine maintenance item.
Online listings and product catalogs are overwhelmingly e-commerce, and that price pressure pushes buyers toward the cheapest finish, not the one that survives a decade of shoes and school bags. Architectural specification data from the Bureau of Labor Statistics tells a related story: the construction trades keep growing, and material and finish selection remains one of the skills that separates a careful installer from a fast one.
If I had to pick one material for a family home with a single staircase, I’d take stained white oak every time. It forgives, it ages well, and it doesn’t show every scuff the way painted white does.
The Three-Plane Check I Run Before Anyone Drills
This is the part most crews skip, and it’s the reason handrails end up sloped wrong or mounted at weird heights. Before a single hole gets drilled, I check three planes.
- Height plane: confirm the rail sits at a consistent height above the stair nosing line from the first step to the last. Mark it, don’t eyeball it.
- Slope plane: the rail has to run parallel to the pitch of the stairs. A rail that levels out near the top looks broken and feels worse.
- Wall plane: find your studs and mark them, then confirm the bracket bases land somewhere near one. If they don’t, plan blocking or proper anchors before you commit.
Do those three checks and your installation stops being guesswork. It becomes layout.
Small Renovation Upgrades That Punch Above Their Weight
You don’t need to replace the whole staircase to change how a hallway feels. Some options are worth the money and some aren’t.
Start with lighting. A second fixture or a warm LED strip along the stringer does more for perceived quality than almost anything else on this list, and it’s a weekend project. Next, deal with squeaks before you refinish anything. Fixing a loose tread after you’ve stained the wood means living with the damage or redoing the finish. And when the run is tight, an open riser design buys visual space without changing the footprint at all.
One upgrade I’d skip: ornate decorative brackets on every single step. It reads as busy, it’s a pain to clean, and fewer, better placed details almost always win. Restraint is the harder design choice.
If you’re planning a bigger renovation, the Department of Housing and Urban Development publishes guidance on residential rehabilitation that’s worth skimming before you sit down with a contractor, mostly so you know which questions to ask.
Frequently Missed Details, and Why They Cost You Later
A lot of stairwell problems trace back to five small decisions.
- No blocking in the wall. The bracket gets anchored into drywall, and it fails quietly over months. Add blocking during framing or open the wall. There’s no shortcut.
- Wrong bracket depth. Too shallow and your knuckles scrape the wall. Too deep and the rail floats away from the surface. Measure your hand clearance against the rail profile before ordering.
- Ignoring where the stairs meet the landing. Transitions are where alignment errors get exposed. Mark both ends before you set a single bracket.
- Mismatched finishes. Order hardware with your rail material in mind, not after. Returning hardware mid project stalls the whole job.
- Skipping the final grab test. Walk the stairs and pull on the rail at every bracket. If anything moves, fix it now, while touch up paint is still on the shelf.
Where to Start This Weekend
Grab a tape measure and a flashlight and check your stud locations along the stairwell wall. Write down the rail profile, the wall type, and how many support points your run will need. That one page gives you everything you need to order hardware or have a real conversation with a contractor without getting talked past.
Staircase renovations reward the person who thinks about the boring parts first. So what’s behind your stairwell wall right now, and do you actually know?